
PCS: What does this term on my report mean?
This is a new term that refers to the Probability of Compliance to the Specification. Very simply, it is an indicator that tells you when you may have more measurement risk than you can accept when relying on your instrument to provide you with a confident reading/value.
How confident are you that your test and measuring instruments are not negatively impacting your products/services? The answer should be: As long as the instrument has been operating within the Original Equipment Manufacturer’s (OEM) accuracy specifications, you have high confidence that there is no negative impact, but if it exceeds those tolerances then there is a potential impact to product/ service that must be investigated.


There is a region that lies around the lower and upper tolerance limit where a calibration lab’s measurement uncertainty obscures their ability to clearly state whether the instrument is In Tolerance or OOT. Even when the Test Uncertainty Ratio (TUR) is high, this condition exists. So, for the moment, let’s forget about that 4:1 or better TUR requirement in your quality system and focus on the fact that a “TUR” is a means of protecting your confidence in using an instrument to either make measurements or to source values which meet your expectations. PCS is a better and more precise way to ensure this confidence.
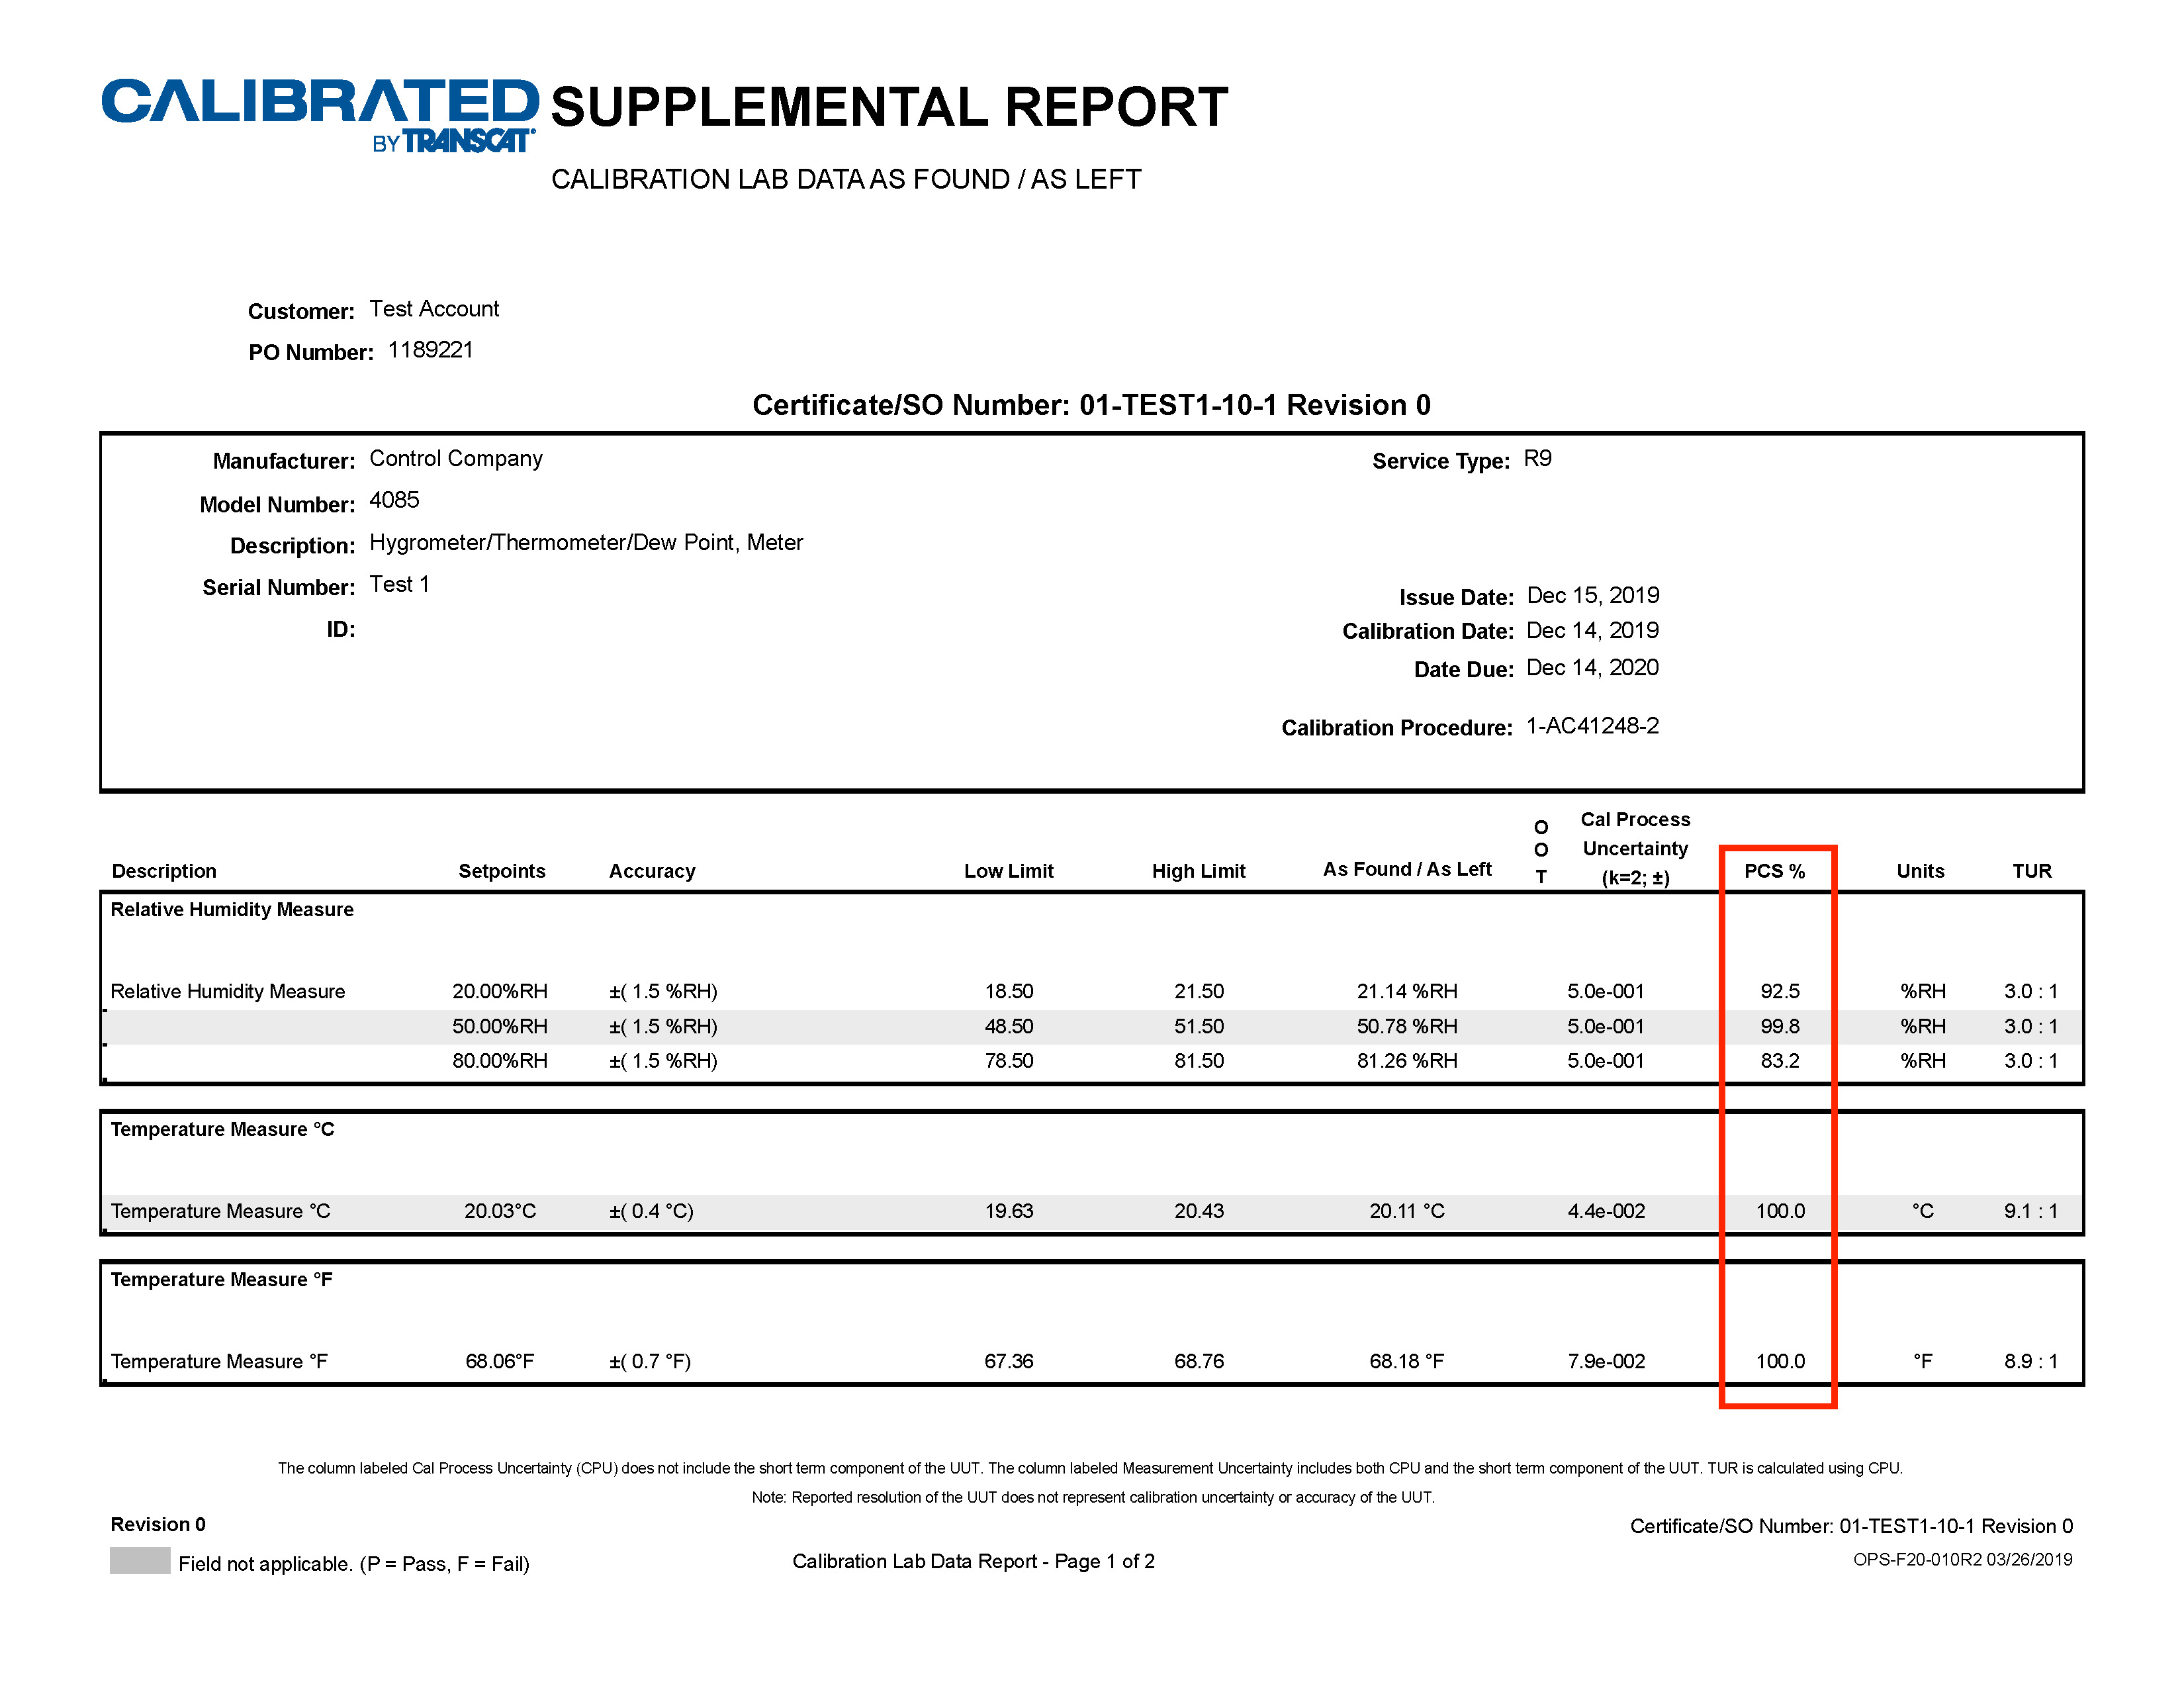
The PCS % normalizes all of the calibration information at each test point to make it easier for you to understand the measurement risk. With one simple percentage, you can tell whether or not measurement risk exists, even for low TUR’s—and that indicates whether or not you should further investigate the processes where the instrument was used in order to help minimize risk in those processes. The PCS is based on your instrument’s tolerance limits, the calibration laboratory’s measurement uncertainty, and the reading/value of your instrument at the time of calibration. And it’s simple to use.


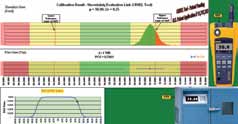
A Graphical Representation Of PCS
When the PCS value is 100% (In Tolerance), you can rest assured that the instrument is performing within its expected tolerance limits. As the PCS decreases below 100% (False Accept), the lab’s measurement uncertainty begins to interfere with a clear call on whether the test point is In Tolerance or OOT; the PCS % becomes an indicator of how much confidence the lab has in stating the test point is In Tolerance. When it reaches 50%, the instrument has hit one of its tolerance limits. Below 50% (False Reject) your instrument is traditionally called OOT; the PCS percentage adds value by indicating the probability that the test point could actually be In Tolerance due to inherent variances that are part of the lab’s measurement uncertainty. Finally, 0% PCS (OOT) means there’s no chance your instrument could have been In Tolerance - it’s definitely OOT at this point. No need to concern yourself over the lab’s measurement uncertainty or the TUR (but we’ll still provide them to you). You’ve hired us as the Metrology experts to calibrate your equipment, so let us worry about keeping those in check. Use PCS for peace of mind in determining your true confidence in measurement! To learn more about the PCS concept, please go to www.Transcat.com, then click on CALIBRATION, or navigate to RESOURCES, then click WHITE PAPERS.


An Example Of a PCS Calibration Certificate
For further reading on PCS, please review the following white paper: Benefits of PCS.
Read our white paper on Guard Banding 101.
Visit our Accreditation Resouce page.
